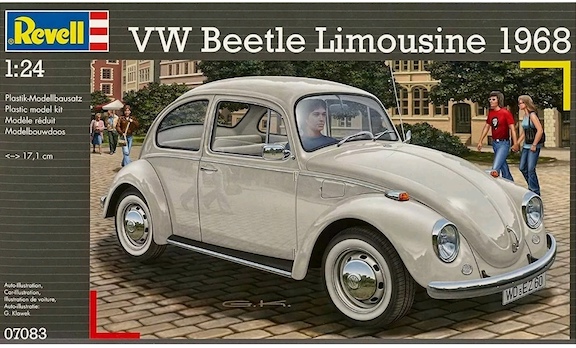
For many years Beetle modelling fans have had to endure the misery of the Revell Street Machine or Cabriolet Beetle kits. These kits had been around since the late 70’s and their poor mouldings showed this. There were some nice detail touches but they were very few. Or the expensive Imai Beetles based on the 1303. Where the Revel kit had detailed suspension and engines, these kits had absolutely nothing.
Then in 1994, Tamiya burst onto the scene with its 66 Bug. Lots of details with opening bonnet and deck lid. And being Tamiya, it all fitted together with precision. A work of art, you couldn’t go wrong unlike the Revell kit. After lots of filing, sanding, and care you could make them look half decent but they never looked great.
Fast forward to 2013 and Revell upped their game. Gone was the old mouldings and in were new. I’ve built many Revell kits so when this arrived, I was sceptical. I’d had my dreams crushed before and having been a child of the Tamiya generation, I wanted an easy ride. I’ll be honest, I can be a very lazy model builder.
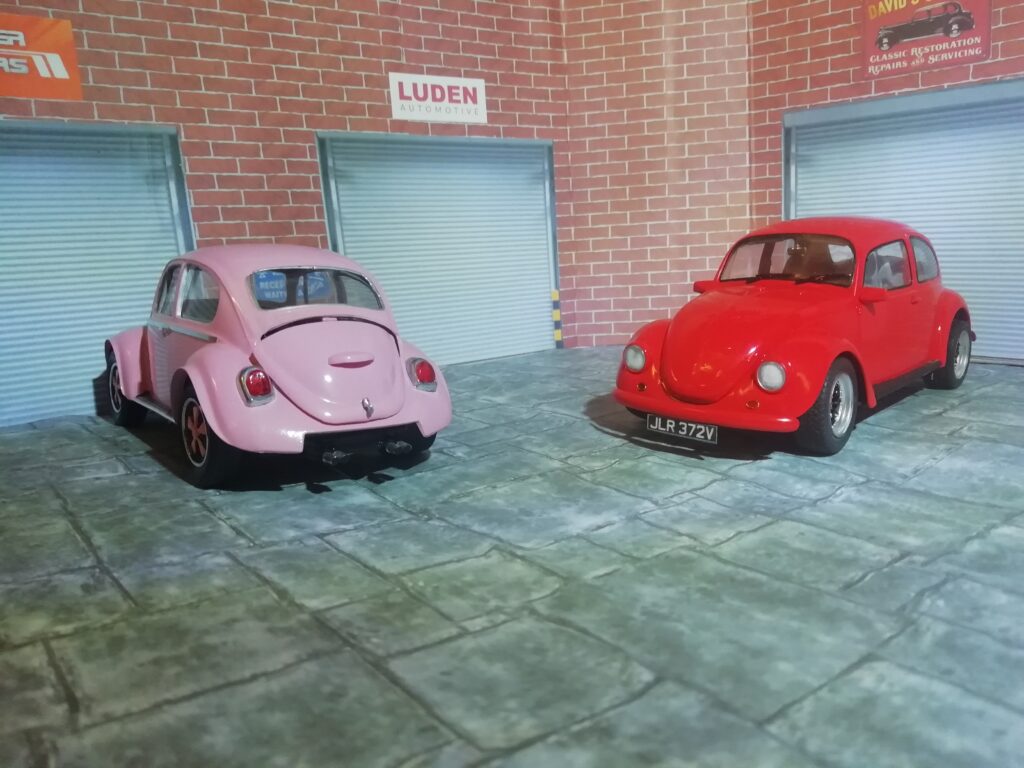
Now to add some spice into the build, I had lost the instructions. I was planning on a few changes as I built it to look like Colin Burnham’s Street Machine Cal-Look project so being accurate to the build wasn’t so important. However, having cut my teeth on Beetles in my misspent youth, it was quite easy to work out where all the bits should go.
And go they did. The kit consists of 10 sprues packed with Beetle parts in grey plastic, chrome plated parts, clear windows and rubber tyres. The kit, true to form for Revell did build your hopes up only to dash them. The bonnet, not moulded onto the body is separate. This part sadly is not an opening part and the moulding within the bonnet doesn’t really leave much scope to be accurate.
And the same can be said for the front suspension. An iconic design feature of a Beetle, this component didn’t even look much like it. But these really are the only gripes I had with the kit because the rest of it was a pure joy to assemble. The details came thick and fast.
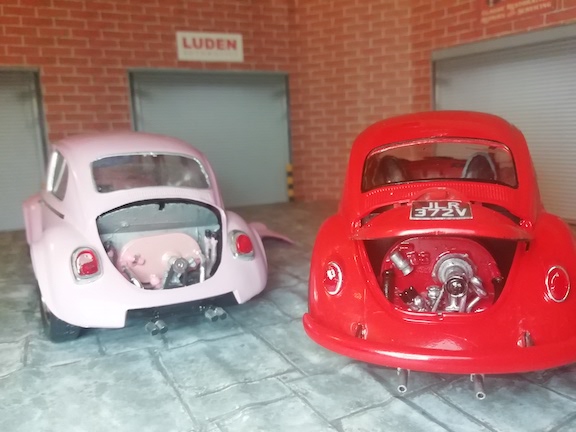
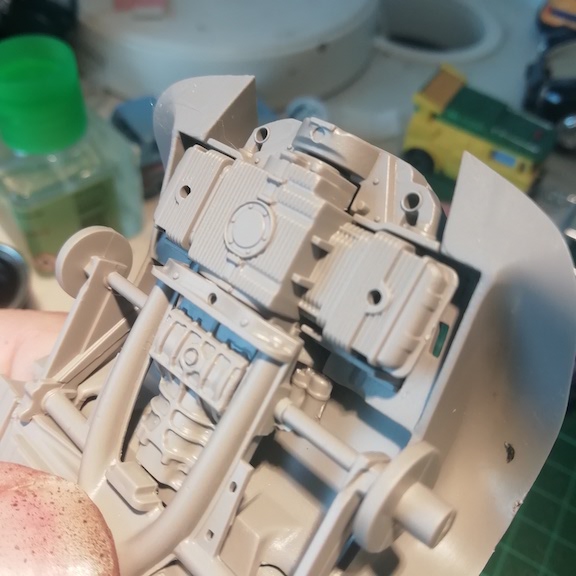
The engine, moulded in a few parts was highly detailed. Even the lower engine tinware attaches to the heat exchangers in the same place as the original. The air filter assembly had crankcase breather pipe and hot air riser tube attached though the last part does go to the wrong area of the engine.
The disappointment experienced with the front suspension is history when you get to the rear. It’s simple to construct but also finely detailed. There wasn’t much missing. Even the heating system was there in all its glory.
Inside and the kit was still giving joy. A headlining with rear seat passenger straps. I mean, it’s a tiny detail but what a detail. The moulding for under the dashboard was also correct. Once built, you’d never see this part again but knowing it is there and it was correct is a nice touch.
Without the instructions to hand, part 63 caused me to chuckle. I had no idea what it was. It looked like a butt plug!
And now for my Achilles Heel with Revell kits. Windows! Never their best part but I need not fret. A little trim along the edges and they all fitted beautifully with no glue seepage.
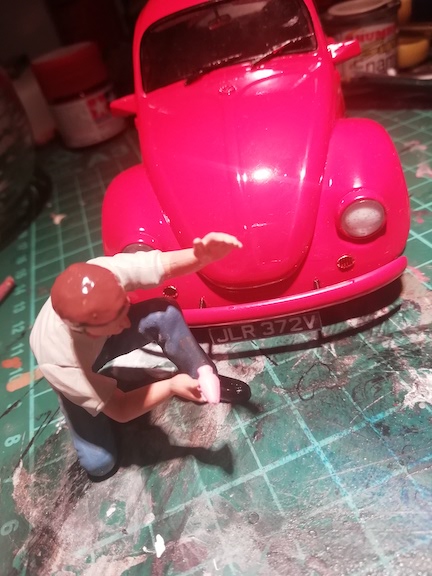
Overall I was mighty impressed with this kit. While it lacks the visual beauty that is the front beam, it does make up for that with the amount of impressive details elsewhere. Almost everywhere else to be honest including the horn under the nearside wing. I’d definitely build another.
As for part 63, I have since found out it’s actually a vase. You can stick it on the dashboard and only the dashboard. It goes nowhere else.
£24.99 from most modelling outlets.
