She Is A Model, And She’s Now Looking Good
Autumn is here and before you know it, we’ll be into winter. I turn my attention away from working on the fleet, to playing with toy cars. Even at the age of 43, I still can’t pass a car boot sale toy box without taking a look for something a bit scabby that I can turn into something loved again.
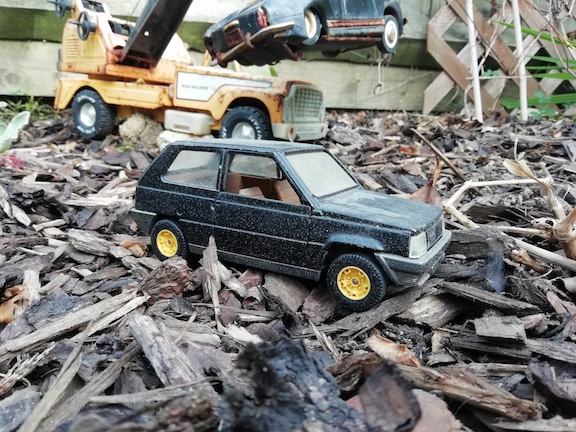
I’d bought this Fiat Panda as a new toy back in 2000 from Beatties toy shop. Now for the toy geek in you, the Bburago Panda model was released sometime in 1982. It was 17 years old now and still being sold as a new toy car. The Fiat Panda hadn’t been sold in the UK since 1996 but would soldier on until 2003 in Italy. So this probably explains why it was still sold by Bburago.
I digress but perhaps this is to do with the paint I’ve been sniffing this weekend. The weekend I decided to strip and rebuild my battered Panda.
There is something quite therapeutic in taking a rough model and making it good again. This time you get to choose the colours, the spec, the interior layout and/or colours and wheel choice. It’s almost like buying a real car without the expense except for paint.
This weekend, the Panda has cost me £12 in paint. Or around £30 if you add the other paint needed that thankfully I have in stock from other projects. Model building is fun but from an initial layout, it can look expensive especially when you need just need 3 dobs of clear orange for the indicators for instance.
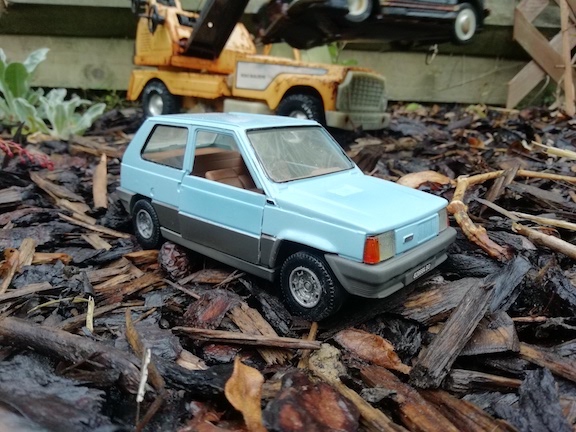
I wanted to do a Sisley 4×4 in metallic green. That was the plan some 18 years ago. So I’ve scrapped that idea and decided to go back to basics like the Panda was. A nice shade of pastel blue with the lower half in grey.
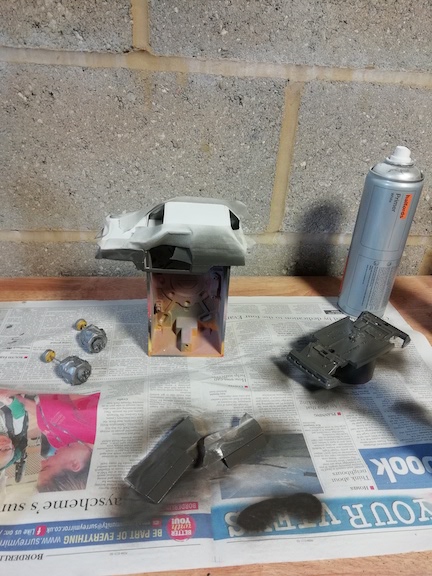
Thankfully with Bburago, they screw together so dismantling is easy. I try and dip the shells in paint thinners but the 1/24th scale body was too large so a soft fire brush on the work bench was used to strip the paint down. You don’t always have to strip the paint. Some paints won’t react to thinners so a good rub down with wet and dry is sometimes all that you need.
Primer is essential. Grey or white dependant on the colour you choose. Now I did use a rust inhibitor primer on the lower half of the Panda. A bit over kill for a diecast model that won’t rust but this is an old Fiat so I wasn’t going to take any chances. OK that is a bit OTT but I needed grey and that was all I had in stock.
Allowing a few hours to dry and the use of the airing cupboard (always helps to have access to the hot room of the house to aid model paint drying) the drying time was accelerated. Next was to mask up the lower section for another coat of grey in the form of plastic primer that is sort of the correct shade for the lower panels on Panda Mk1.
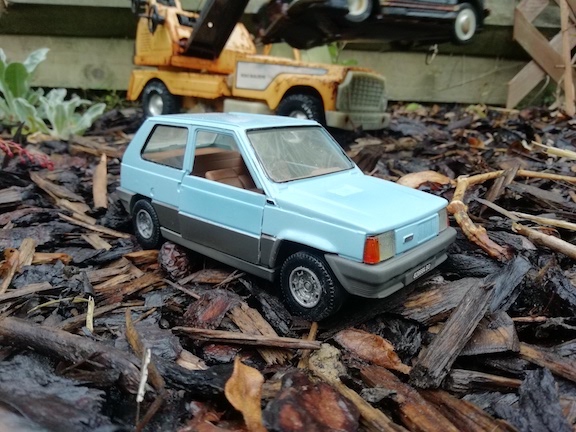
The rest as they say is a walk in the park. Top coat paint colour applied in light even coats and then once dry, adding the details and reassembling.
OK, so it’s not that easy. Like painting a real car, you need to do the door shuts and inside areas first. Easier to do inside parts because the paint finish doesn’t matter as much if it has some over spray or flat areas.
The details are what can make a model. For your £1.99 (1999 prices) Bburago were not going to paint the lights for you. So I went wild and added those 3 dobs of orange for front and rear indicators.
And now I am left with a bespoke Fiat Panda model that looks like the launch model that as one critic rudely or rightly said, was as square as the box it had come in. Now isn’t that the truth.
