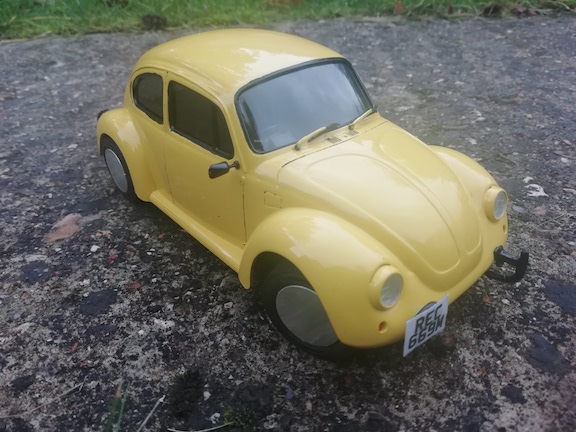
If at first you don’t succeed, try, try and try again. Well I did just that with an Imai 1/24th scale Volkswagen Beetle model. It took 3 attempts between 1989 and 2016 or 1 every 9 years to complete.
There was a model shop just off the high street in Croydon that sold kits other than Tamiya. They included kits by Imai. An unknown maker to many who just happened to make random cars like the Citroën 2CV6 (it was awful!) and the VW Beetle. But not just any Beetle. They made the unloved by the masses 1303. The one with the bulging bonnet and panoramic windscreen. When all we had was the Revell 1300, this 1303 was quite exotic.
Bug Love
edf 
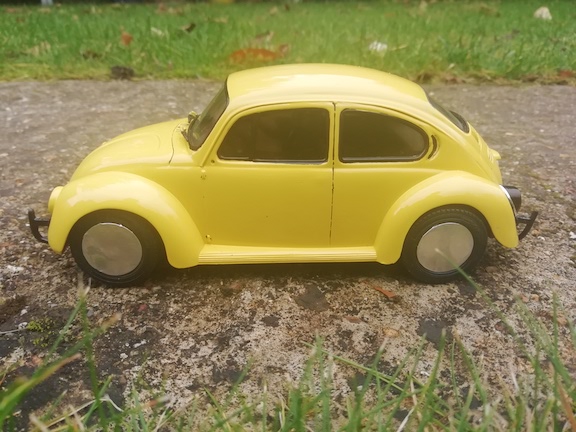
Being Beetle crazed back then I saved like crazy. These were not cheap kits. For all their poor detail compared to Tamiya kits, they cost around 30% more. To a cash strapped teen that was a lot. As you would expect I had friends who had them and I wanted to make a replica of one. Couldn’t be that difficult could it? A yellow 1303S called the Wasp. The Imai kit was moulded in yellow so half of the difficulty was sorted.
Not so fast. The Beetle in question was subjected to the Cal-Look of the day. Gone were the bumpers, the door handles and chrome trim. It was also fitted with moon discs and the wings were smoothed into the body. For any Beetle fan out there this meant the wing beading was removed and filled with filler.
The Kit
The Imai kit is quite poor especially when you remove the bumpers. The front valance is of the wrong shape and the kit is a little spartan in details with no openings. The interior is of comedy proportions because the chassis has space for batteries. You can also power this thing up with a motor. Not that you would want to. It takes 3 AA batteries. If you’ve ever played with batteries, motors and model kits, that’s 4.5 volts and when all connected together, it makes for one massive mess when it hits a solid skirting board.
Going Cal-Look
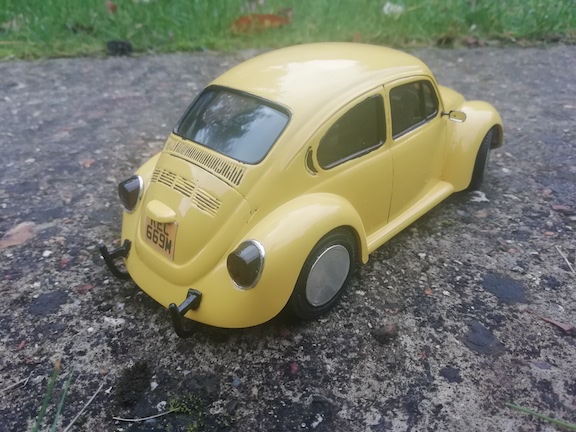
The little 1/24th scale did thank fully lend itself to some changes. The wing beading was a fillable line. The chrome mouldings and door handles could be sanded flat. The moon discs were a problem. It too the third attempt for me to realise that I could just plumb the rims with filler and smooth them down to make moon discs. Previous attempts had me stick thick paper to the wheels and paint them silver.
The Wasp was also lowered. These Imai kits didn’t allow for must lowering of the front. They also needed the bumpers to mount the shell to the chassis. Super glue was a favoured choice back then for mounting those difficult bits of plastic. You can take so many chances with engineering in a plastic model kit especially structural. Suddenly the bumper mounts were modified, mounted higher into the shell and viola the Bug was lowered. Certainly beats cutting springs and turning splines that’s for sure!
We didn’t have the paint choices on the shelf that the keen modeller has today. Halfords acrylics are a joy to be had today but back then we had cellulose. Cellulose wasn’t always compatible with polystyrene model cars (read that as NEVER) and would always result in slight melting, eating into the plastic or generally just ruining a body. Humbrol yellow was just crap. Too thick and took around 400 years to dry.
Beetle 1 was ruined. I could have sanded it down and gone again but the damage was done and in the end I turned it into a pick up. Still not giving up on the idea, Beetle 2 was a bit better. By this time I had learnt how to work with cellulose paint. Very light coats and a bucket full of patients. It almost got finished but then I turned 17, had a real car and model building was put on hold for around 5 years by which time the Beetle was junked along with many other half finished kits.
Finished………
edf 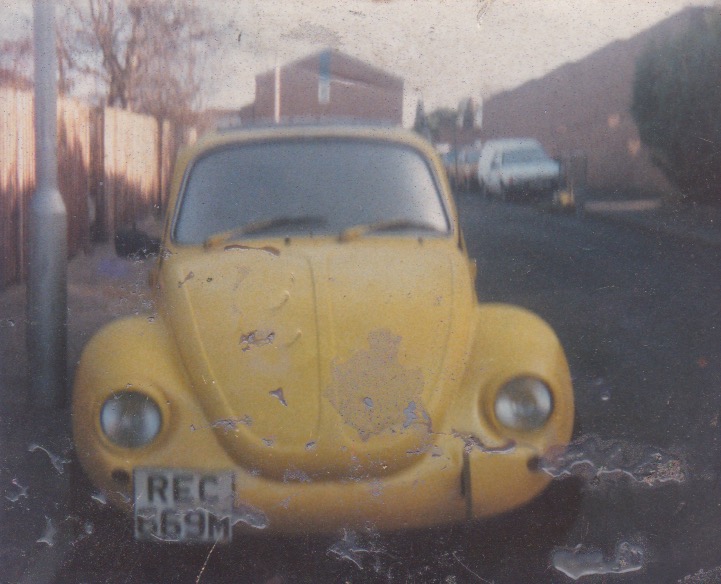
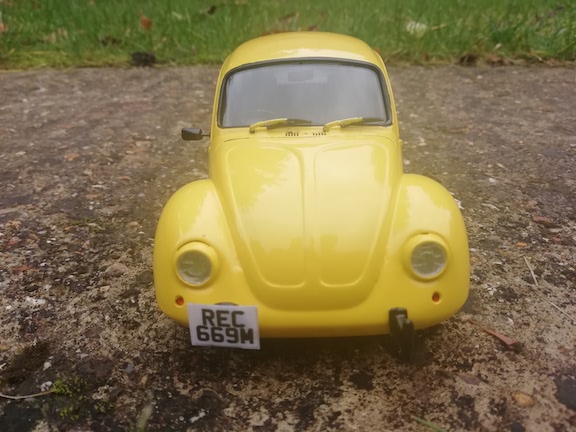
2016 saw a change in gear. Paints were better. Ford signal yellow was available in that lovely plastic loving acrylic. And I had a new desk to play at with toy cars. I started again and completed it. This time however the box it ended up in was a display case and for the past 5 years it has been on display. My window trim isn’t perfect but to hell with it, it’s close. It’ll do for the time being anyway.
